[Docker] Docker for AI developers: Writing Your First Machine Learning Docker File (Part-IV)
In the previous blog posts, we learned the basics of Docker. In this post, we try to create our first machine learning Docker image based on our requirement.
Problem Statement: we need to create a Docker image such that we can have access to the following Python libraries: numpy, matplotlib, scikit-learn, pandas, jupyter notebook, scipy and requests
The image should declare a consistent volume named “data/notebook” to store jupyter notebook related input and output files, respectively.
When the container created from above image is running, it should be able to open a jupyter notebook server locally by mapping the port 8888 inside the container to port 8888 of the host machine.
Solution: For solving the above problem, we create the following files/folders:
-
Dockerfile(to specify what our Docker image should do) -
requirements.txt(to install the necessary packages usingpipinstaller) -
Directory
Data/input(to store input files to be processed which will be mapped todata/notebookinside container for having constistent volume)
The requirements.txt file is written as follows:
jupyter==1.0.0
matplotlib==3.1.2
numpy==1.17.3
pandas==0.25.3
scipy==1.3.1
requests==2.22.0
scikit-learn==0.22
The folder Data/input contains a sample file cars_sampled.csv which will be processed using pandas and jupyter notebook applications using Docker container and the processed csv file will be stored in the folder data/notebook inside the Docker to check whether we get this file at mapped folder on our local machine i.e., Data/input.
Now let us take a look at the Dockerfile written for the above problem.
FROM python:3.7
COPY requirements.txt .
RUN pip install -r requirements.txt
RUN mkdir -p /data/notebook
WORKDIR /data/notebook
copy /data/input /data/notebook
EXPOSE 8888

# Add Tini. Tini operates as a process subreaper for jupyter.
# This prevents kernel crashes.
ENV TINI_VERSION v0.6.0
ADD https://github.com/krallin/tini/releases/download/${TINI_VERSION}/tini /usr/bin/tini
RUN chmod +x /usr/bin/tini
ENTRYPOINT ["/usr/bin/tini", "--"]
EXPOSE 8888
CMD ["jupyter", "notebook", "--port=8888","--no-browser","--ip=0.0.0.0", "--allow-root"]
Explanation for the Dockerfile: We start by specifiying our base image which is python:3.7 which is sufficient for our problem at hand and also it comes preloaded with some executables such as pip. Then we copy our requirements.txt file present inside our current folder to the root folder of the base image. In the next line, we create an image layer by specifying the pip installer the python packages needed to be installed. In the next line we create a directory inside the Docker image which will be mapped to the host directory for having the consistent volume. The WORKDIR command in the docker file sets the working directory for any RUN, CMD, ENTRYPOINT, COPY and ADD instructions that follow it in the Dockerfile. If the WORKDIR doesn’t exist, it will be created even if it’s not used in any subsequent Dockerfile instruction [1]. The copy instruction will copy the data from the specified local directory path on host machine to the specified folder inside docker container.
EXPOSE 8888 is used for documentation purpose which specifies that we will be using port 8888 inside the container for our purpose. Finally we specify the CMD instruction to specify how the jupyter notebook service should be running when a container is created. Since using jupyter notebook as a Docker CMD results in kernels repeatedly crashing, likely due to a lack of PID reaping. To avoid this, we use the tini init as our
Dockerfile ENTRYPOINT [2].
About the last command i.e.,
CMD ["jupyter", "notebook", "--port=8888","--no-browser","--ip=0.0.0.0", "--allow-root"]`
Here CMD command defines the default executable of a Docker image i.e., when the container is created and starts running it will execute the executable specified by the CMD command. In this case the executable specified is jupyter notebook. Let us see what the arguments and flags provided to CMD command do:
-
jupyter notebook: This launches a Tornado based HTML Notebook Server that serves up an HTML5/Javascript Notebook client. -
--port=<Int>: The port the notebook server will listen on (env: JUPYTER_PORT). Default: 8888 -
--no-browser: Don’t open the notebook in a browser after startup. -
--ip=<Unicode>: The IP address the notebook server will listen on. -
--allow-root: Allow the notebook to be run from root user.
Building our Machine Learning Docker Image
Our first machine learning docker image can be built using:
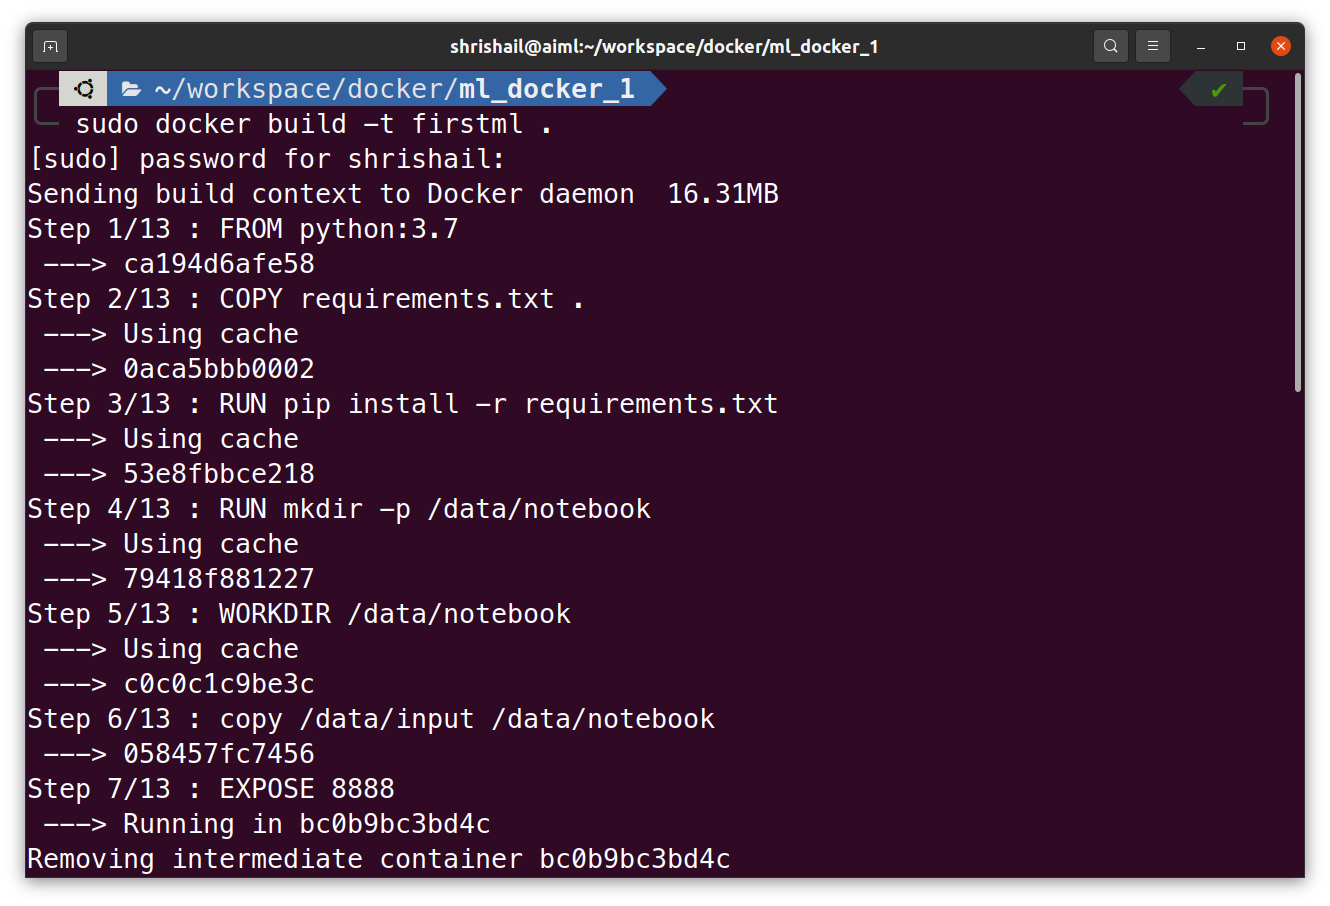
sudo docker build -t firstml .
Running the container from our Docker image
sudo docker run --rm -it -v $(pwd):/data/notebook -p 8888:8888 firstml
Explanation: Here, docker run is the command to create and run the container followed by different arguments. Let us see their use one by one. The --rm flag will remove the container after its life is over. The-it flag will run the container in an interactive mode. Since we want to make use of volume, the -v flag is used followed by mapping between the directories from host system to the one inside the container.
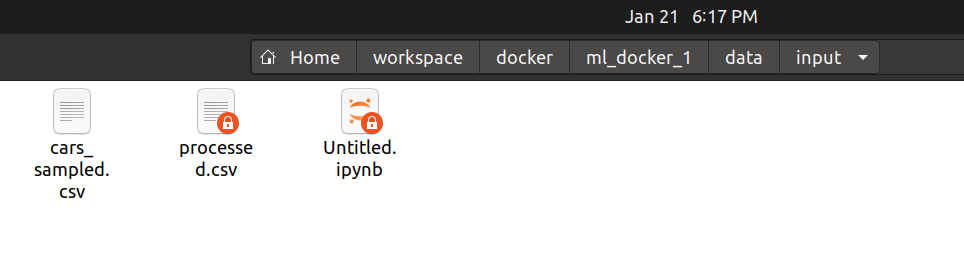
One can see the current folder i.e., $(pwd) in above command has directory /data/input which will be mapped to data/notebook inside the container.
One can see that the folder data/input contains file
cars_sampled.csvwhich we want to process using pandas and jupyter notebook inside the container and will write the processed version of it in data/notebook to check the concept of volume i.e., whether we get persistent data or not.
The next argument shows the port mapping using -p flag, indicating port 8888 of host machine will be mapped to port 8888 inside the container. The last argument is image name from which we want to create and run the container.
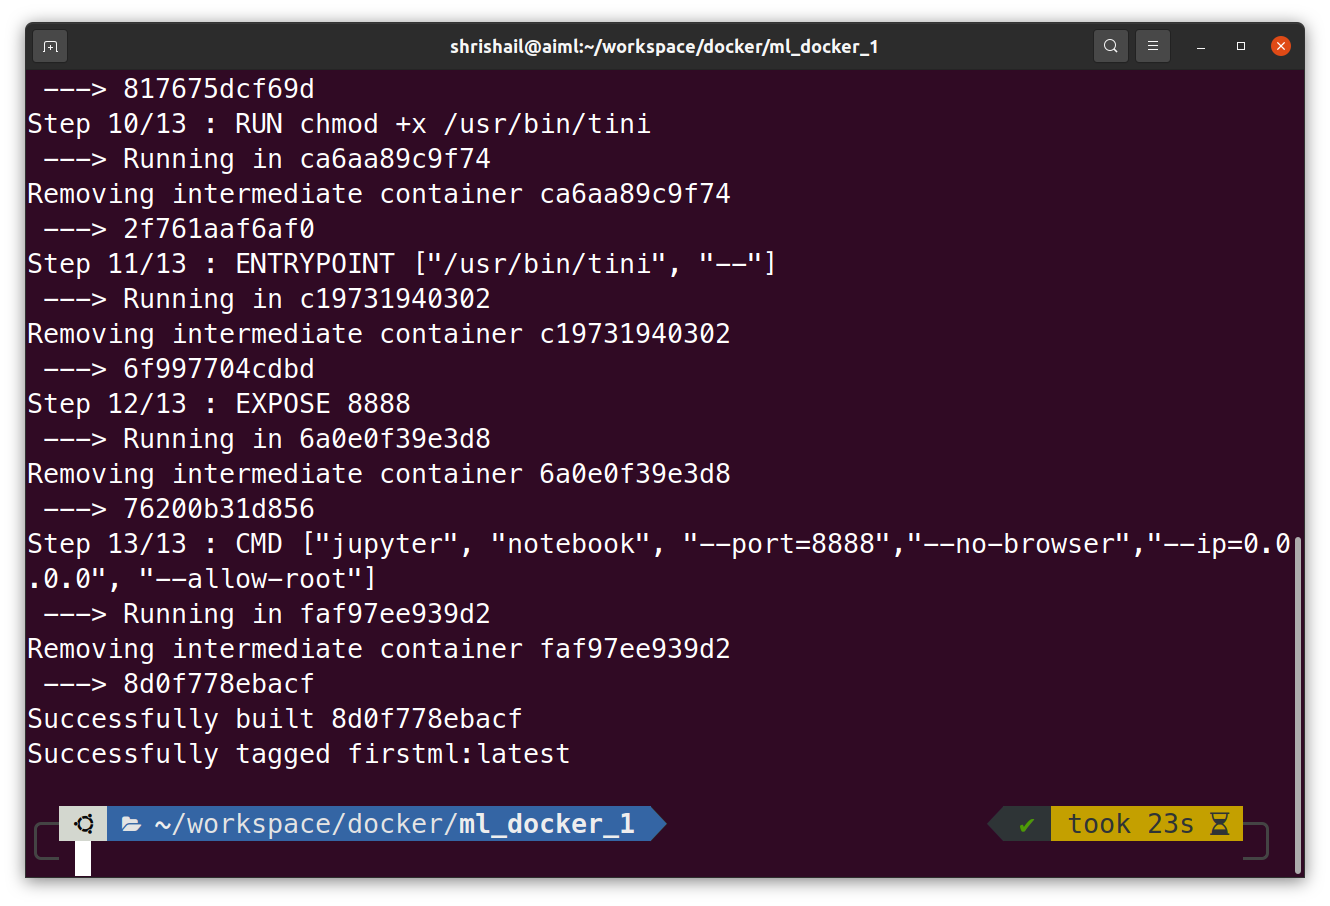
Output for the above “docker build” command
The above docker build command produces following output
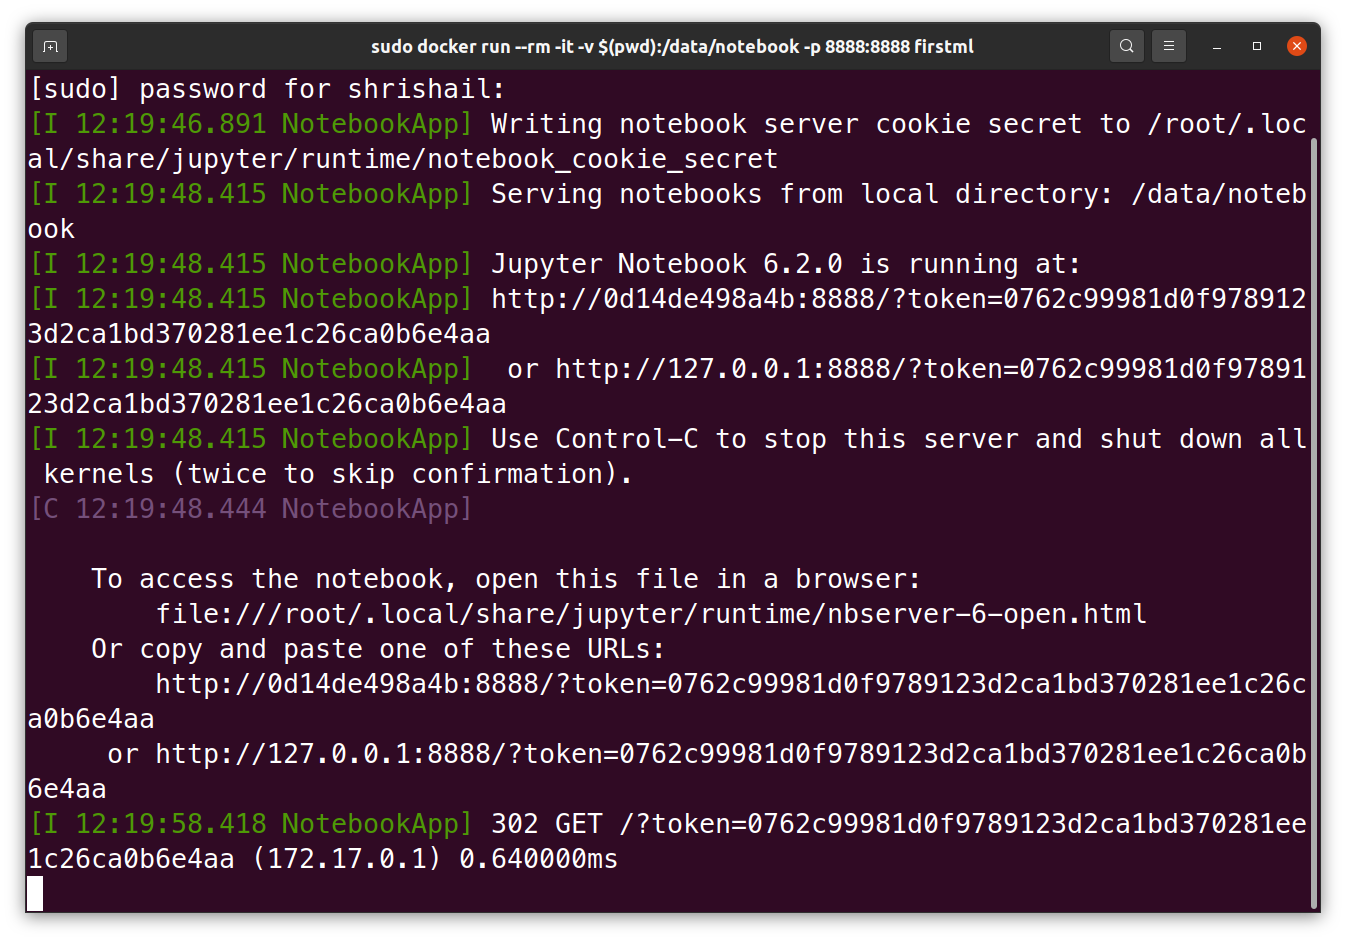
Since we have provided --no browser option, it won’t automatically open the jupyter notebook server in the web browser. We copy and paste one of the URL available in the output log to open the jupyter notebook. The output in this case is:
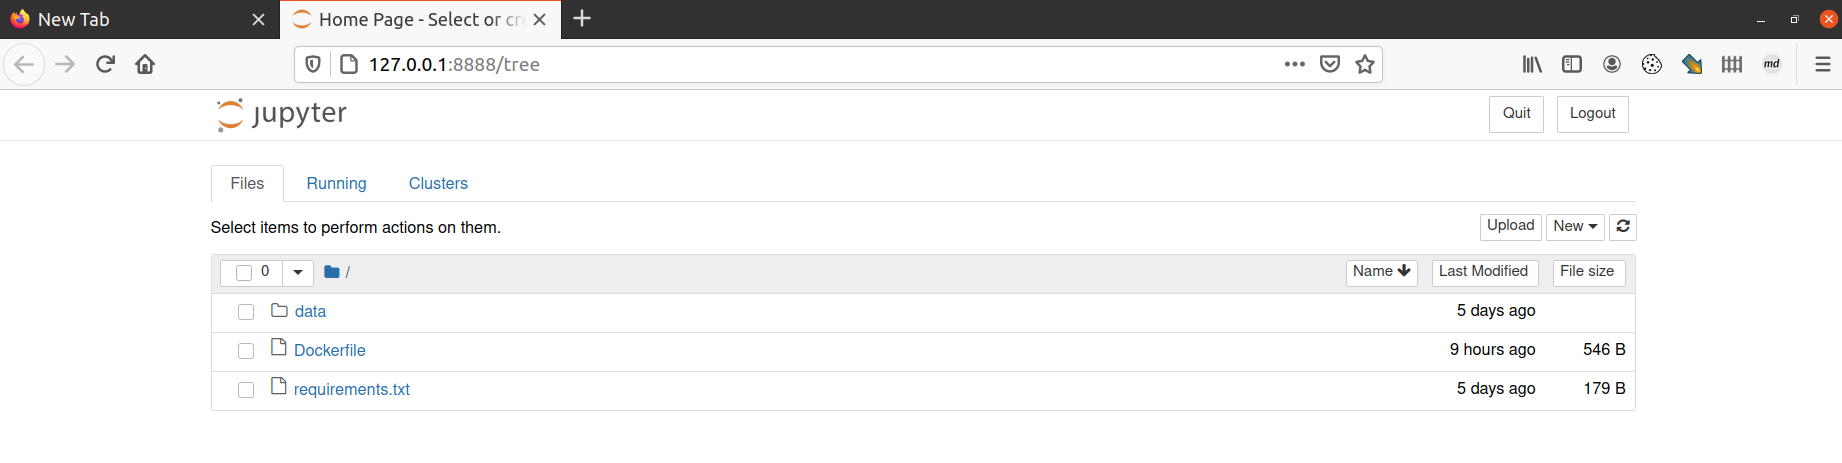
We can now use jupyter notebook using this Docker container as we would on our local host machine.
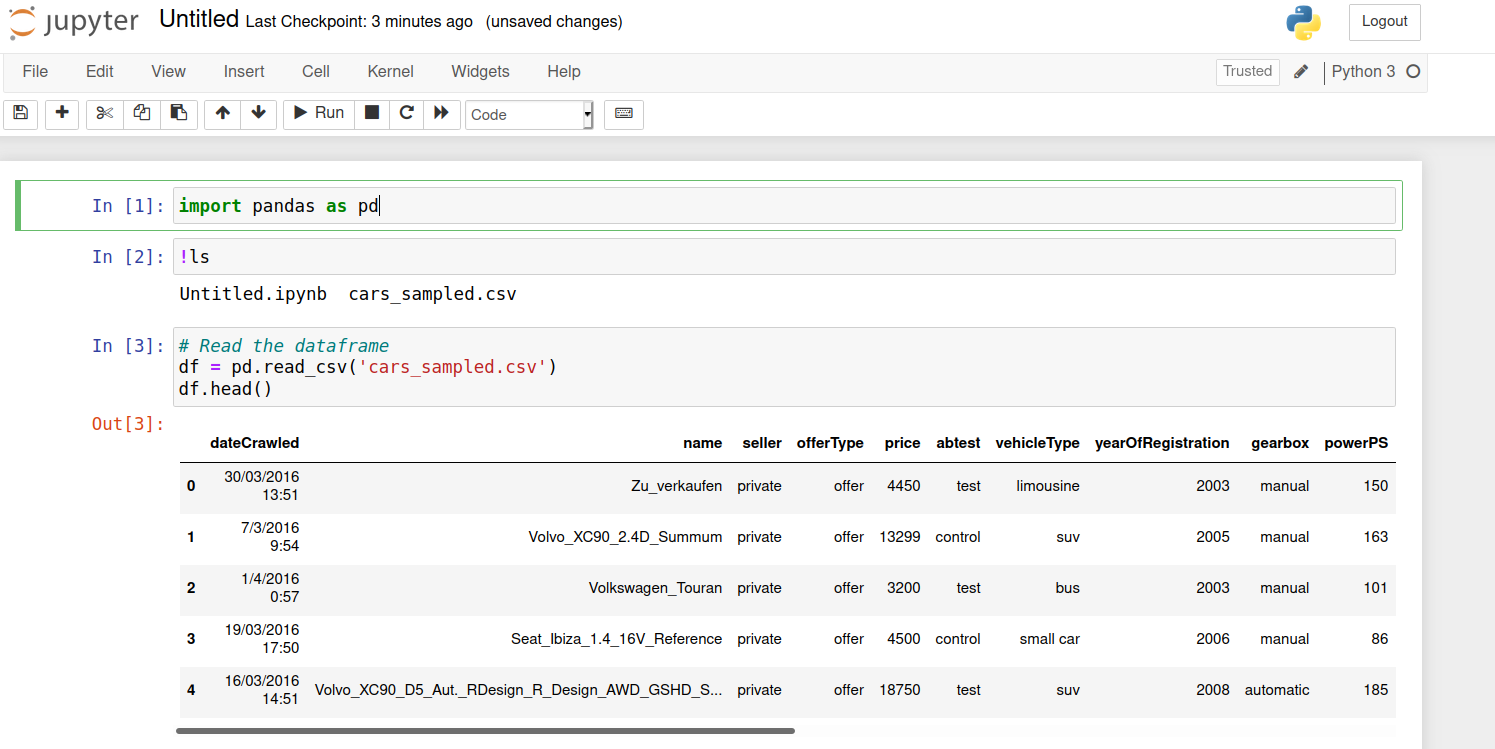
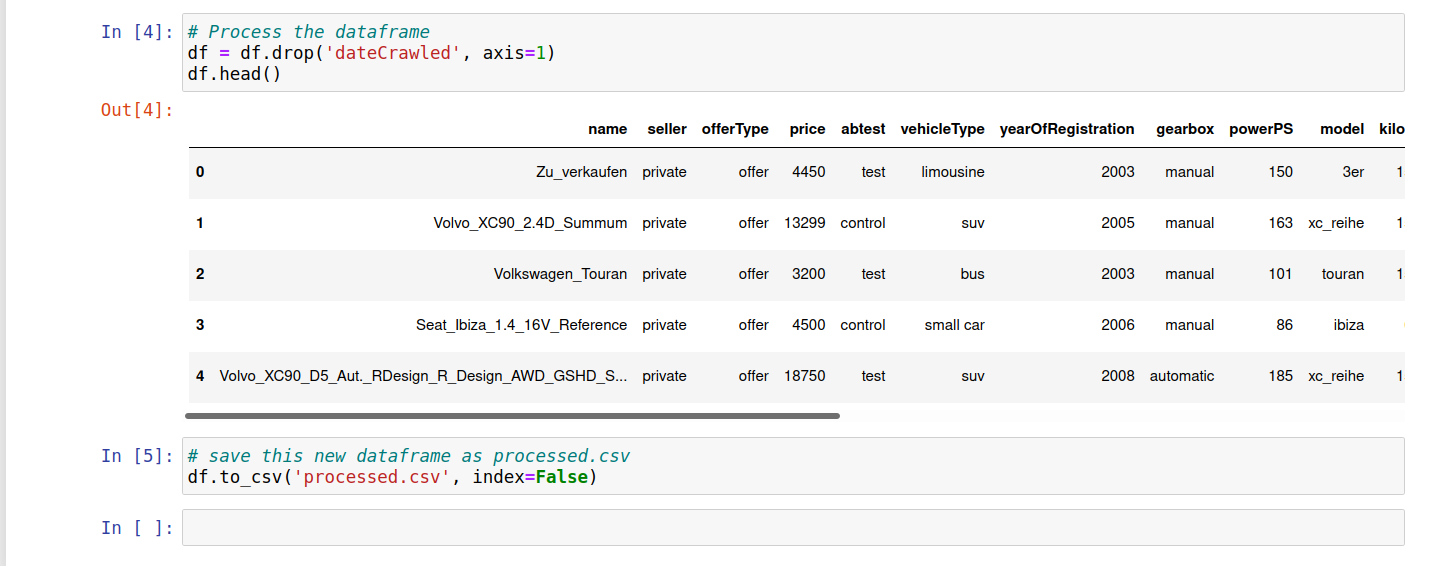
Let us create an IPython notebook and read the csv file present in container directory data/notebook and remove the first column as the processing step for demo purpose and save the new csv file as processed.csv in the same folder to check whether we get consistent volume storage or not.
The demo processing program is as follows:
One can stop the container and check in our local system folder data/input that we see two new files, the IPython notebook file and the processed.csv file.