[OpenCV-Python] Drawing Fun using OpenCV and Python
Welcome to the first blogpost of my OpenCV series. In this series, I will try to use the functions of OpenCV library to create something which will show the application of these functions.
In this blogpost, we will play with library functions available to draw various shapes. Please refer OpenCV documentation page OpenCV: Drawing Functions on this topic for more details.
In this post, we will try to use the following opencv functions
-
cv2.line() -
cv2.circle()[Useful to show detected circular objects] -
cv2.rectangle()[Most useful in case of object, face detection to show bounding box] -
cv2.ellipse() -
cv2.polylines() -
cv2.putText()[useful to put text for the bounding boxes]
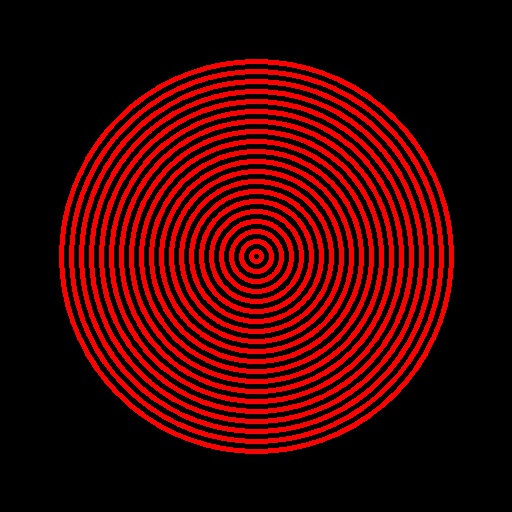
Let us start from the simplest case of drawing the concetric circles.
# filename: circles.py
# Drawing concentric circles
# Written by Dr. S.S. Gajbhar

import cv2
import numpy as np


def drawConcentricCirlces(image, rMin, rMax, incrValue, centerX, centerY):
    """
    This function draws the concentric circles in the given image
    rMin: minimum radius
    rMax: maximum radius
    incrValue: difference in radius
    centerX: X value
    centerY: Y value
    """
    for r in range(rMin, rMax, incrValue):
        image = cv2.circle(image, (centerY, centerX), r,
                           color=(0, 0, 255), thickness=3)
    return image


if __name__ == '__main__':
    # Let us create a color image of size 512*512 with black color
    image = np.zeros((512, 512, 3), dtype=np.uint8)
    # Let us define the center of the circles
    cx = 512//2
    cy = 512//2

    img = drawConcentricCirlces(image, 5, 200, 10, cx, cy)
    cv2.imwrite("cvConCircles.jpg", img)
    cv2.imshow('Window with circles', img)
    cv2.waitKey(0)
# To run type the following command at the terminal
python circles.py
Output:
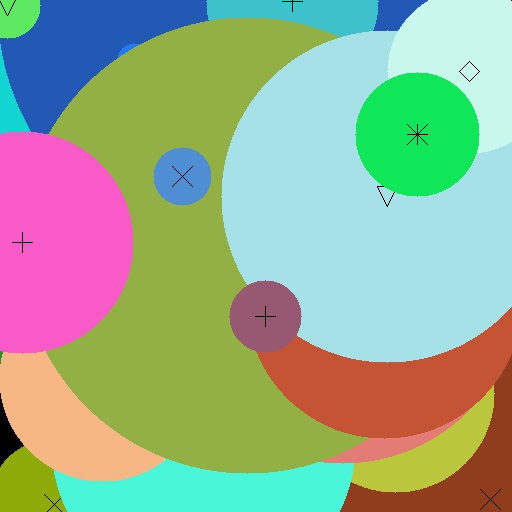
Let us create some circle art using OpenCV
# filename: CircleArt.py
# OpenCV Circles Art
# Written by Dr. S.S. Gajbhar

import cv2
import numpy as np


def createCirlceArt(canvasSize):
    """
    This function will create a circle art.
    Input: canvasSize type: tuple (height, width)
    """
    imgHeight = canvasSize[0]
    imgWidth = canvasSize[1]

    emptyCanvas = np.zeros((imgHeight, imgWidth, 3), dtype=np.uint8)

    # Let us define ranges for centers, radius, colors also.
    radMax = min(imgHeight//2, imgWidth//2)
    numCircles = np.random.randint(radMax//32, radMax//4)
    centerXArray = np.random.randint(0, imgHeight, numCircles)
    centerYArray = np.random.randint(0, imgWidth, numCircles)
    colorsBArray = np.random.randint(0, 255, numCircles)
    colorsGArray = np.random.randint(0, 255, numCircles)
    colorsRArray = np.random.randint(0, 255, numCircles)
    radiusArray = np.random.randint(0, radMax, numCircles)
    # In OpenCV 7 different markers are available so choosing randomly that also
    markerArray = np.random.randint(0, 7, numCircles)

    # Lets define the dictionary for marker
    markerDict = {
        '0': cv2.MARKER_CROSS,
        '1': cv2.MARKER_TILTED_CROSS,
        '2': cv2.MARKER_STAR,
        '3': cv2.MARKER_DIAMOND,
        '4': cv2.MARKER_SQUARE,
        '5': cv2.MARKER_TRIANGLE_UP,
        '6': cv2.MARKER_TRIANGLE_DOWN
    }
    for i in range(0, numCircles):
        centerPoint = (centerYArray[i], centerXArray[i])
        color = (int(colorsBArray[i]), int(
            colorsGArray[i]), int(colorsRArray[i]))
        emptyCanvas = cv2.circle(emptyCanvas, centerPoint,
                                 radiusArray[i], color, -1)
    # Draw markers for all circles
        img = cv2.drawMarker(emptyCanvas, centerPoint,
                             (0, 0, 0), markerArray[i])
    return emptyCanvas


if __name__ == '__main__':
    canvasSize = (512, 512)
    img = createCirlceArt(canvasSize)
    cv2.imwrite('CirclesArt.jpg', img)
    cv2.imshow('OpenCV Art with circles', img)
    cv2.waitKey(0)
# To run type the following command at the terminal
python CircleArt.py
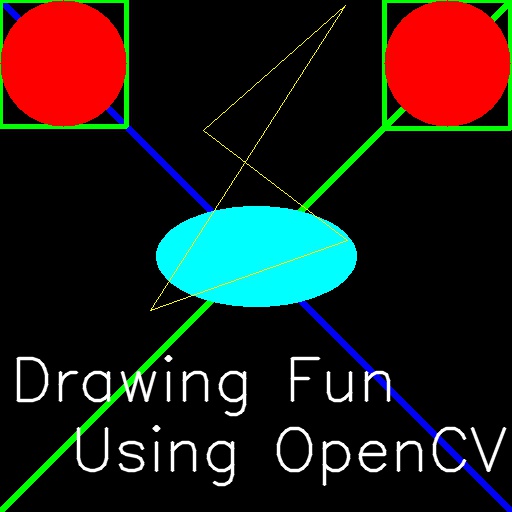
Finally, let us draw some shapes using the opencv functions mentioned above.
  # Import the neessary libraries
import numpy as np
import cv2

# Lets enlist all the draw functions in cv2
# As per opencv document there are
# cv2.line(), cv2.circle() , cv2.rectangle(), cv2.ellipse(),
# cv2.polylines, cv2.putText() to name a few.

# Create an empty color image filled with all zeros
image = np.zeros((512,512,3),np.uint8)

# Let's draw a blue line extendiing from one corner to other
cv2.line(image, (0,0), (511,511), (255,0,0),5)
# Let's draw a rectangle with upper-left corner at (0,0) &
# lower-right corner at (126,126) with green color
cv2.rectangle(image,(0,0),(126,126),(0,255,0),3)
# Let's draw a filled circle inside the above rectangle with red color
cv2.circle(image,(63,63), 63, (0,0,255), -1)

# Let's draw a green line extendiing from one corner to other
cv2.line(image, (0,511), (511,0), (0,255,0),5)
# Let's draw a rectangle with upper-left corner at (384,0) &
# lower-right corner at (510,128) with green color
cv2.rectangle(image,(384,0),(510,128),(0,255,0),3)
# Let's draw a filled circle inside the above rectangle with red color
cv2.circle(image,(447,63), 63, (0,0,255), -1)

# Let's draw a filled ellipse at the center of the image
cv2.ellipse(image,(256,256),(100,50),0,0,360,(255,255,0), -1)

# Use of polylines function
pts = np.array([[345,5],[203,130],[347,240],[150,310]], np.int32)
pts = pts.reshape((-1,1,2))
cv2.polylines(image,[pts],True,(0,255,255))

# Let's demonstrate the use of putText() function
# In this case, anti-aliased versions of Hershey fonts are used.
font = cv2.FONT_HERSHEY_SIMPLEX
cv2.putText(image,'Drawing Fun',(10,400), font, 2,(255,255,255),2,cv2.LINE_AA)
cv2.putText(image,'Using OpenCV',(70,470), font, 2,(255,255,255),2,cv2.LINE_AA)

# Let's save the image
cv2.imwrite("cvdraw.jpg", image)

cv2.imshow("Drawing Shapes",image)
cv2.waitKey(0)
References:
-
OpenCV documentation page OpenCV: Drawing Functions
-
Practical Python and OpenCV by Adrian Rosebrock